Pages

2.19.2012

Tackling the Bathroom: A Lesson in Patience & Organization

I'm not Martha. There I said it. I aspire to be. I just don't really like to clean. And my organizing? I start things in a major way and get distracted, by kids, by a job that used to keep me on the road, by pregnancy exhaustion. When that happens I am left with piles of crap everywhere and no motivation to fix it. So when I saw the 21 Day Challenge on A Bowl Full of Lemons I thought to myself, "Hmmm, maybe if I get to put up before & after pictures I'll gain some motivation." Besides my poor husband is very patient with my "unique" methods of organization so I thought I'd reward him with a neat space since he is a bit more of a neatnik than I am. (Days 4, 13, 14, & 15)
I am ashamed to post the before pictures but here they are: (Feel free to gasp out loud- they aren't even all the way before as I had started sorting items into categories a week ago.)

With post & beam construction we end up with some weird and limited shelving.

We also lack a laundry closet, hence the stack of towels on a chair.  We also had a cabinet thing over the toilet that I was getting worried about. It seemed very "tippable".

The sink is just a huge catch all.

My husband took the 17 month old and amused her for awhile and I set to work on organizing everything.

My goal was to fit most of our items under the sink because the shelving area was open and the toddler had started to rummage through it.

Travel size items including our ready to go travel bag. 
Medicines & Thermometers 
My Stuff

My husband's stuff

My son's stuff & our dental items

Then I tackled a little obstacle. Our first aid supply was out of control. So I sorted the band aids by size. Half of them I set aside to go into our 72 hour kit which I am working on.

Sorting band-aids by size
The other half went into my handy band-aid file. I categorized them into round, tiny, small, medium, large, extra large, and latex free. I also put our alcohol wipes in there and the first aid tape and antibacterial ointment in the front. Now when I hear screams of "Mommy" from outside this summer I can just grab this and run out :).

Band-Aid File

First Aid Supplies
All the baby stuff

Ahhh- I'm in love with my label maker.
My father-in-law understands that I have a deep obsession with office supplies. Some of my gifts this Christmas included a 12 pack of Sharpies in every color of the rainbow, a container of multi-colored binder clips, and this sweet label maker which has multiple fonts, styles, and lime green tape!


Under the sink After
I can't even describe how ridiculously proud I was as I sat in front of the cabinet to take this darn picture. My husband's bin and my bin are on the top on each side since they are used the most. The others are only used occasionally. Behind the babies basket are our sunscreens which are not in use right now since it is February in Vermont!

Medicine Cabinet After
More pride- My husband and I each have a section for items we use daily and I was able to fit all our dental care items into the cabinet so that the counter is clear.

Woah- where'd all that crap go? :)


I took out the over toilet cabinet. With the slanted ceiling it had always felt a little large for the space but we had needed the storage! I replaced the towel chair with a small white bookcase that has at some point in time lived in every room in our house. I added a book holder to the side of the toilet- we received it as a gag Christmas gift but it came in handy. And the container on top of the toilet holds a backup roll of toilet paper and formula for late night bottles. I had a huge assortment of containers floating around so I actually didn't have to purchase anything for this project. I had gone through in the last week though and consolidated all of my empty containers and baskets into one corner upstairs which made life easier.

The all-important potty training throne.

My favorite part!
With all of the items now neatly stored under the sink I was able to remove the bottom shelf and create a small bathroom "busy" area for my toddler. She is getting too big to sit quietly in the seat while you shower so this is my solution. The items on the top shelf are pushed way back and up really high so she can't get to them. I laid down a yoga mat for her to sit on. This way I can occasionally hose it off to clean it. We picked a few hard plastic toys and books to store here and I'll rotate them frequently to keep her interested. When she's not in the space the laundry basket will live there and we can just pull it out when we're showering.

Laundry basket storage & my bird matching game. I'll have to touch up the walls, when I pulled the shelves out the walls were still white where they had been.


I had a bunch of these IKEA bird placemats from an earlier project. I took 2 of them and cut all the birds out of one. Then using sticky-back velcro I attached them over the matching bird on the whole placemat. 

See, I'm holding the bluebird before I put him on his twin.


The toddler is big into matching right now and has a velcro obsession so this should keep her busy.


Here she is checking out the play area before bed. 

Ok, so I feel like my Sunday had a purpose. So, so glad to get this project accomplished! My husband's reaction, "I don't care why you did this but if that lemon blog motivates you to take pictures and clean things then keep doing it."


2.17.2012

Roasted Bacon & Cabbage with Baked Eggs

I admit it, I missed the memo. I didn't know today was National Cabbage Day. It is just a coincidence that I made roasted cabbage last night and am writing about it today. Talk about good timing! I like cabbage because it is cheap. At roughly 59 cents a pound a little goes a long way, and roasting it takes the sharp edge off and turns it into a whole new vegetable. As for the addition of bacon, I realized yesterday that I had an unopened package of bacon from my grocery shopping on the 5th and couldn't believe we'd gone that long without bacon! This recipe minus the eggs also makes a great side dish for meat but is incredibly filling as a meal with eggs.


Roasted Bacon & Cabbage with Eggs
(serves 4) (Total Cost $3.11 or .78/person)

1.5 lb head of cabbage .93
3 slices of bacon (15 slices/pack @ 3.89 = .26/slice) .78
2 TBS olive oil
1 1/2 tsp kosher salt
4 TBS buttermilk (or cream/milk) (1 TBS=1/2 oz, 32 oz/qt, buttermilk 1.89/qt= .06/oz) .12
8 eggs (2.95 per 18= .16/each) 1.28

1. Preheat oven to 400. Peel off the outer leaves on the cabbage and discard. Core the cabbage.


2. Cut into quarters & shred in food processor or using grater. 


3. Spread the cabbage onto a sprayed cookie sheet. Drizzle with 2 TBS olive oil & sprinkle with 1 1/2 tsp kosher salt. I then used a butter knife to move the cabbage around a bit so that it all got a bit of oil and salt. 


4. Cut three slices of bacon into small strips and lay all over the cabbage. 


Put in 400 degree oven for 20 minutes, you'll turn it down to 375 when you put the eggs in.

5. Spray 4 ramekins with cooking spray. Put 1 TBS of buttermilk (or milk/cream) into the bottom of each. Crack 2 eggs into each & sprinkle with salt and pepper. I do a basil baked egg in this post- you can easily get creative and add all kinds of cheeses and herbs but I just like plain baked eggs with cabbage. 
You want to put these in the oven when the cabbage has 7-10 minutes left. Put them in at 10 minutes if you want the yolk to be set and put them in at 7 if you want the yolk to be a little runny. Turn the oven down to 375 when you put the eggs in.

6. Serve the eggs on top of the cabbage and enjoy. Happy National Cabbage Day!
(I swear I took a pretty picture and for some reason couldn't locate it this morning. So here is a picture of the roasted cabbage minus the baked egg.) 


2.13.2012

UnChicken Fried Portabella

So if actual chicken fried steak doesn't have chicken in it- could I "unchicken" fry a portabella mushroom for Meatless Monday? This was the question I set out to answer. And the answer was a resounding yes. My carnivorous husband declared, "This is really good." 


I don't usually buy portabellas because they tend to run a little pricey, but I love mushrooms. One downside of grocery shopping during the Superbowl was that the store was out of regular mushrooms from pre-Superbowl appetizer shopping. With the way this came out I'll be buying portabellas again soon and I'll get two meals and leftovers out of the 3 I purchased.

UnChicken Fried Portabellas with Buttermilk Whipped Potatoes
(serves 4)

3 portabella mushroom caps
5 medium potatoes
4 TBS butter (split into 3 TBS & 1 TBS)
1 1/3 cup flour (split into 1 cup & 1/3 cup)
3 cups milk (split into 1 cup & 2 cups)
1 egg
1 tsp Frank's Hot Sauce
1 tsp paprika
4 tsp pepper (split into 1 tsp, 1 tsp & 2 tsp)
3 tsp salt (split into 1 tsp, 1 tsp & 1 tsp)
4- 8 TBS oil
1/3 cup buttermilk

1. Peel & slice potatoes into large chunks. Start them boiling in a pot of water. Set oven to 300.

2. Slice 2 "steaks"off the top of each of the portabellas.


I chopped up the leftover bottom parts of the portabellas and am marinating them in balsamic vinegar for tomorrow nights burger topping. 


3. Set up your flour & milk/egg station for breading. Place 1 cup of flour on a plate.


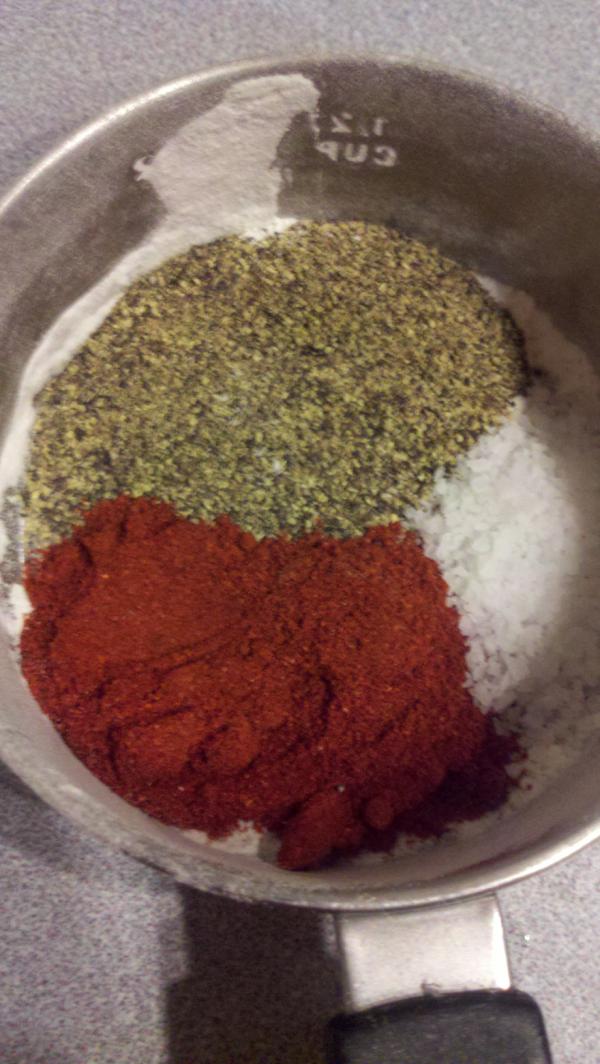
Mix in paprika, 1 tsp salt, and 1 tsp pepper.


Beat the egg and add 1 cup of milk to it. I add 1 tsp of Frank's Hot Sauce just to give it a little kick. 


4. Start a few tablespoons of oil in a skillet over low so that it heats up slowly.

5. Time to bread the slices. You want to repeat this process on each slice so that they've been breaded twice. So once in the milk mixture, flipping to get both sides. 


Once in the flour, flipping to get both sides. You can also use your fingers to spread some flour over the caps if it's easier.


Then repeat. One more quick bath in the milk mixture and another dunk in the flour.

Put them into the pan of oil and turn it to medium low. 


Flip once so that they get golden brown and crispy on each side and then remove them to a baking sheet.  Put the pan into the oven so that the portabellas stay warm and cook all the way through the middle. 


Repeat until all 6 slices are cooked. 

6. Turn off the potatoes. They should be completely cooked. Drain the water and dump the potatoes into a food processor with the blade on. Add 1/3 cup buttermilk, 1 tsp salt, 1 tsp pepper and 1 TBS butter and puree until smooth. Shut it off but leave the cover on so that they stay warm. I also turn off the oven at this point so that the mushrooms don't overcook. 

7. Time to make the gravy. You can't have something "chicken" fried if there's no white gravy on it! Give the pan you cooked the mushrooms in a quick rinse and melt 3 TBS butter in it. Once it's melted add 1/3 cup flour. 


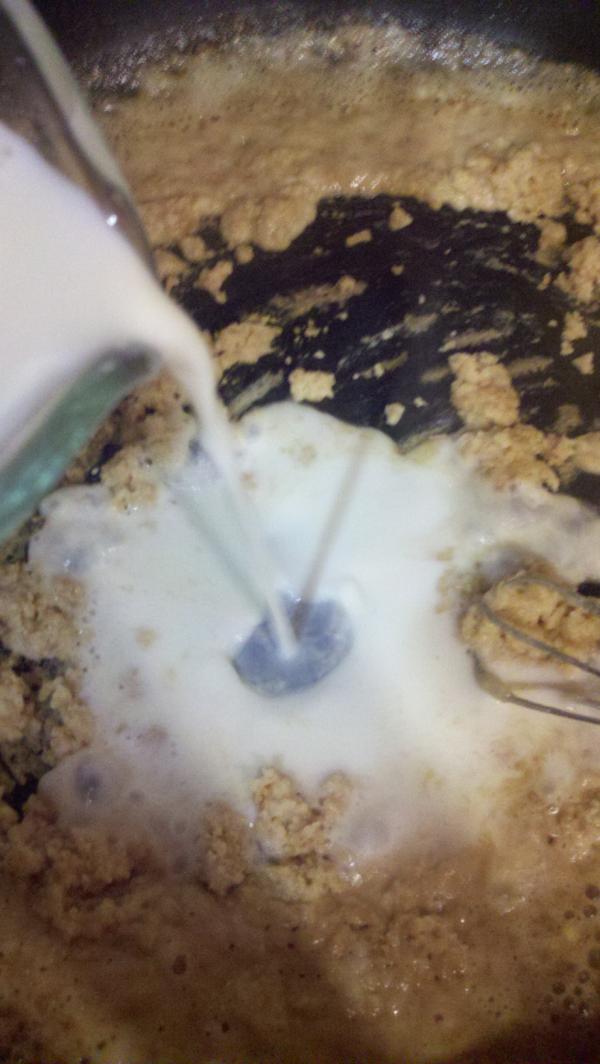
Whisk away so that it clumps a little bit. Once it starts browning slowly add 2 cups of milk while continuing to whisk. Continuously whisking will help keep your gravy from getting lumpy. If it does lump up on you just give it a quick mix with some electric beaters after taking it off the heat.


Stir until thick and bubbly. Add 1 tsp salt and 2 tsp pepper and mix in. Adjust to taste.

Time to eat! Enjoy this "steak" of the veggie world. 


See it even looks like a chicken fried steak when you cut in!

Southern Dinner in February

It has been strangely snow-less here in Vermont but we've taken a bitterly cold turn. And when the weather gets cold I go to two extremes- comfort food or cooking like I live in a warmer climate.

We enjoyed a "Southern" themed night the other night complete with crockpot BBQ chicken, corn pudding & wax beans with mustard. I've listed all three recipes individually but they do come together to make a great meal. The corn pudding is especially popular with my toddler. When she was younger I would puree the corn and feed it to her as an early baby food. The texture of it is light and airy and she loved it. Now that she's got chompers she feeds it to herself with a spoon and enjoys smashing each corn kernel to smithereens.


Crockpot BBQ Chicken
(serves 4-6)

1 pkg split chicken (mine was roughly 3 lbs & had been on super sale) 
1/3 cup bbq sauce (I use Sweet Baby Ray's) (You'll need extra as well to drizzle later.)
1 pint sweet tea

1. Put chicken into crockpot. 


2. Drizzle roughly 1/3 cup of bbq sauce over the chicken. 


3. Make up a large mason jar of sweet tea. Dump half into the crockpot. (Yes I am aware that it's not "real" sweet tea. It's Vermont in February, I improvised.)


Drink the other half.


Set the crockpot for either 8 hours on low or 4 hours on high, depending on your dinner timeline & starting time. Wait for the delicious sent of BBQ to waft thru the air.

4. When the crockpot is done and it's dinner time pull out super-tender chicken for everyone. I like to squirt a little extra sauce on top. Enjoy!


Corn Pudding with a Bite
(serves 6-8 as a side, this can be made as a great, quick vegetarian main dish as well serving 4)

12 oz frozen corn (during the summer I would use fresh)
1/4 cup butter
1/4 cup flour
1 tsp salt
1 TBS sugar (I omit this if I'm using fresh corn)
1 1/2 cups milk
3 eggs
3 TBS Frank's Hot Sauce (we're an Xtra Hot household)


1. Preheat oven to 350. In a saucepan over low heat melt the butter. Once melted add in flour & mix to make a roux. Add salt & sugar. 

2. Stir in the milk and mix well with a spatula. The mixture will start to thicken and will darken a bit. 


3. Beat the eggs until they're bubbly. 


Add the Frank's into the eggs. 


Turn the heat off under the pan on the stovetop. Add the egg mixture to the milk mixture, stirring. Quickly dump in the frozen corn and mix well. Pour into a glass baking dish sprayed with cooking spray. 


Bake at 350 for 40 minutes until the top is slightly crackly and shiny looking. 


Enjoy as a side dish or as a main dish. If you have kids who are picky about corn you can process the corn in the food processor before adding it and call this "cornbread".


Wax Beans with Mustard
(serves 6 as a side)

8 oz wax beans (I used some I put up from last summers farm share)
1 TBS mustard (I used a champagne mustard I had on hand)
1 TBS butter

1. Boil wax beans on stove for about 6 minutes until tender. If you're using canned ones they can be cooked a little quicker.


2. Drain the water off and add butter and mustard to the pan. Sometimes I add a splash of vinegar as well for a tart kick. Mix the butter and mustard into the wax beans until they're covered. 


All done! Enjoy.


I hope you enjoy this Southern themed dinner's components either all together or on their own. Let me know what you think......